

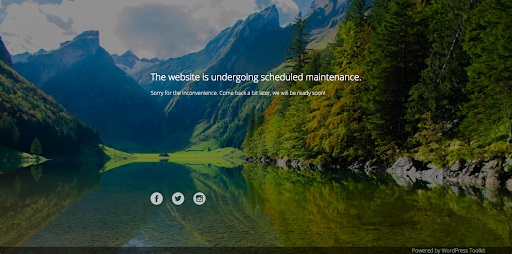
“An automated WordPress update has failed to complete”. If this message won’t go away from your dashboard after updating your WordPress, themes, and plugins, you’ll think that there’s something horribly wrong with your site and that you need to fix it right away. Rest assured, this is not actually a serious problem. The only potential downside is that a failed update may get your site stuck in maintenance mode.
There’s not much to worry about although you will probably keep seeing that supposed failed update message. The message just doesn’t go away even after clicking the “please attempt the update again now” link several times. So what does it mean?
Why does “An automated WordPress update failed to complete” keep showing?
When you begin to update WordPress, plugins, or themes, your site goes into maintenance mode. WordPress stores a .maintenance file temporarily in your site’s root folder and removes it automatically when the updates are finished. For unknown reasons, the .maintenance file sometimes stays in the root folder causing the “update failed to complete” message to stick on your dashboard.
How to Remove the error message, “An automated WordPress update failed to complete”
You can manually remove the .maintenance file from your site’s root folder, and doing so will get you rid of the annoying error message in your dashboard.
Method 1: Remove Maintenance File from CPanel
Login to your CPanel account. CPanel’s appearance varies depending on which hosting service you use. What you need to locate is the file manager.
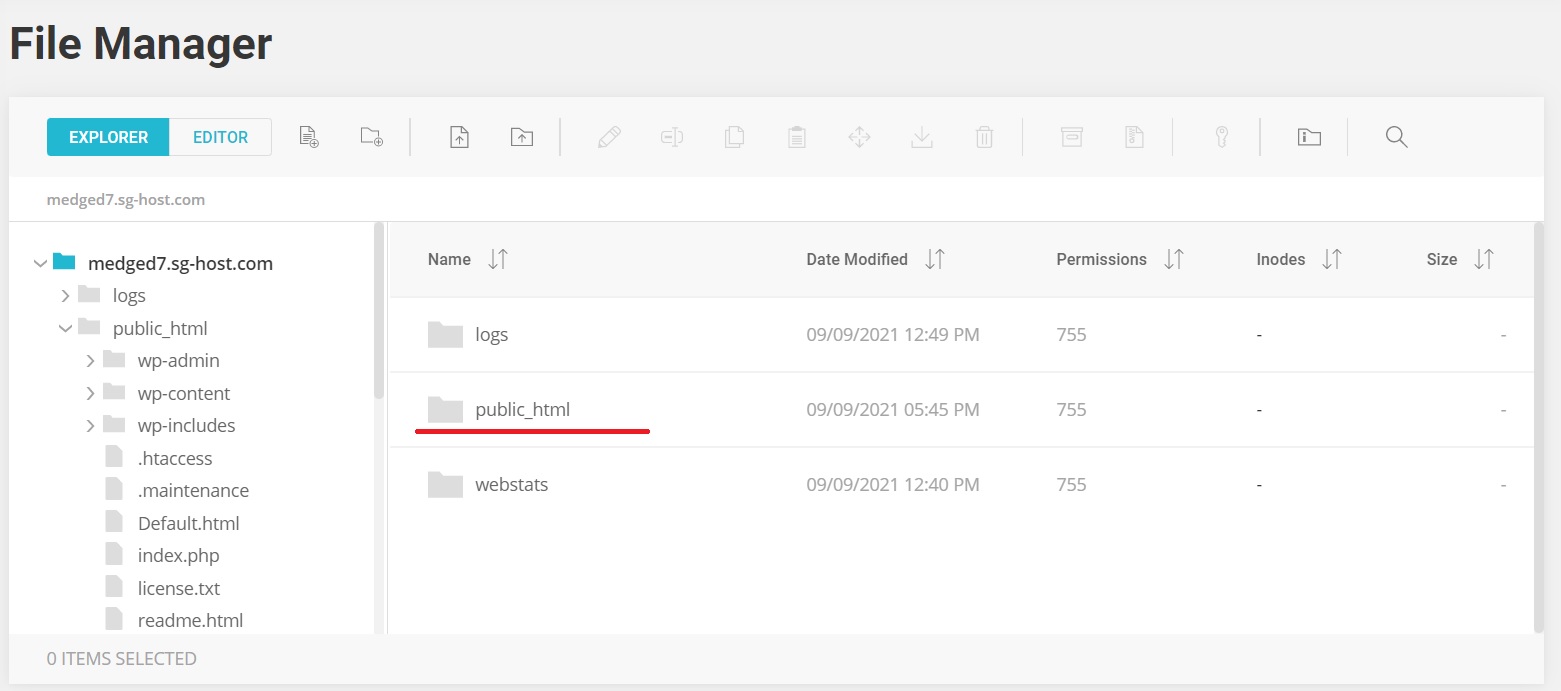
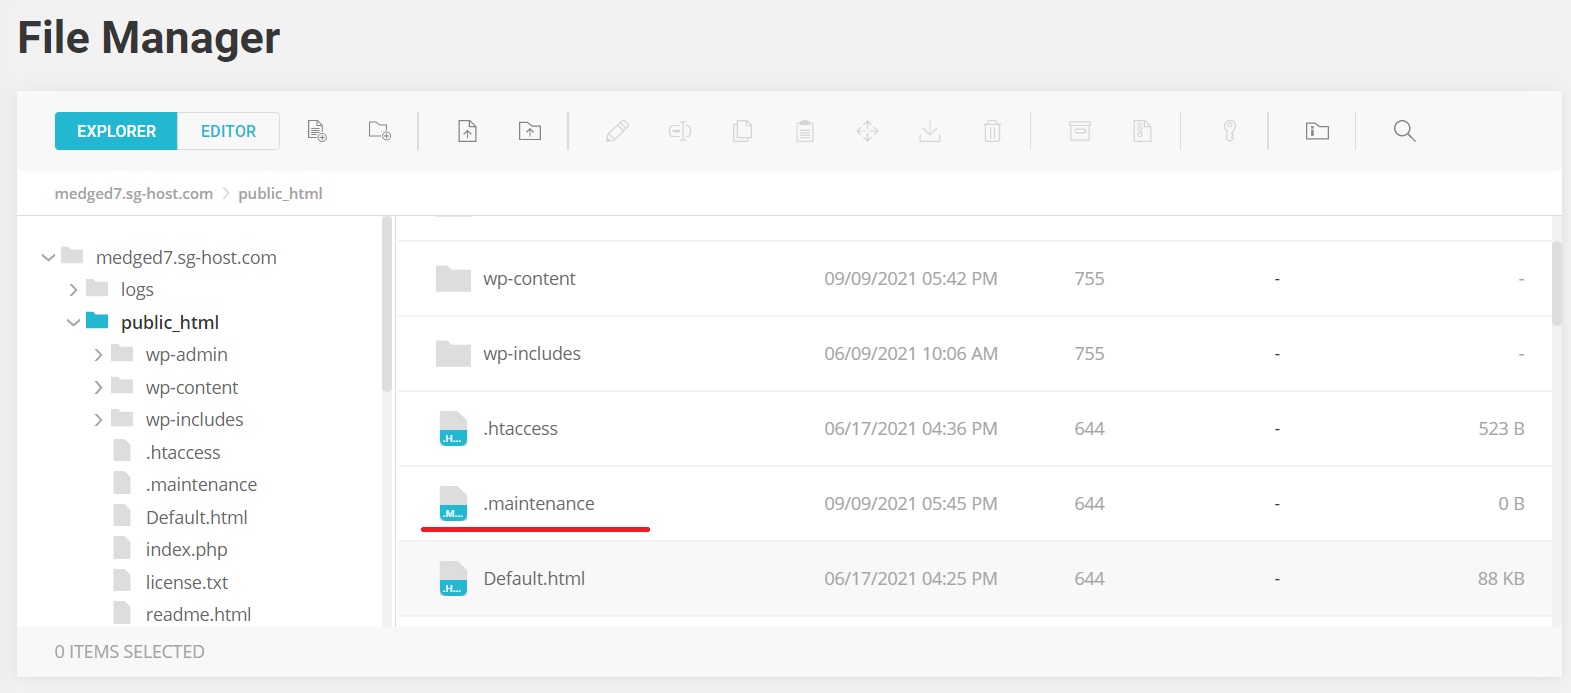
In the file manager, look for the folder for your WP site installation. You should find the .maintenance file there. If you have only one site, you will find the installation in the public_html folder.
The .maintenance file is usually hidden from the old versions of file manager (it depends on your web hosting provider), and in order to make it visible in the public_html folder, click the settings button on the upper right corner and tick the “show hidden files (dotfiles) ” option; then, click Save. For modern file manager, all hidden files are displayed in file manager by default.
Click the .maintenance file to select, then hit the “delete” button, as shown in the image below.
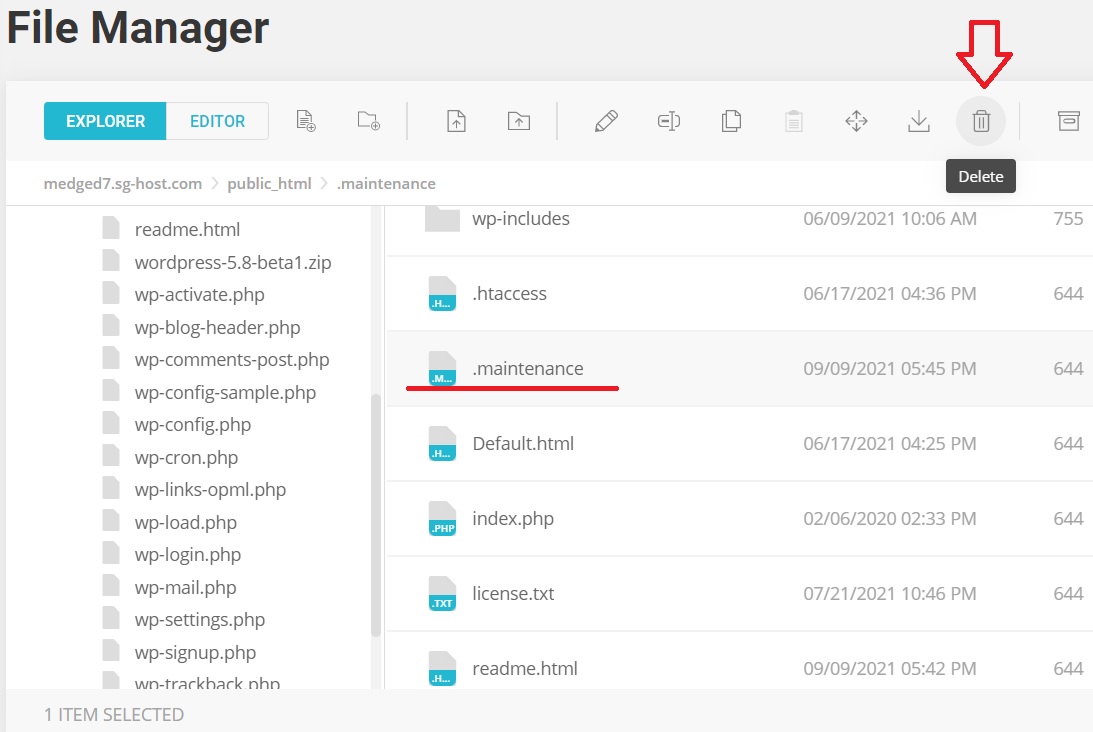
Click “confirm” on the message box that will appear after you click “delete”. This should complete the file deletion.
Go back to your WP dashboard and you will notice that the error message “An automated WordPress update has failed to complete’ is no longer there.
Method 2: Remove Maintenance file via FTP
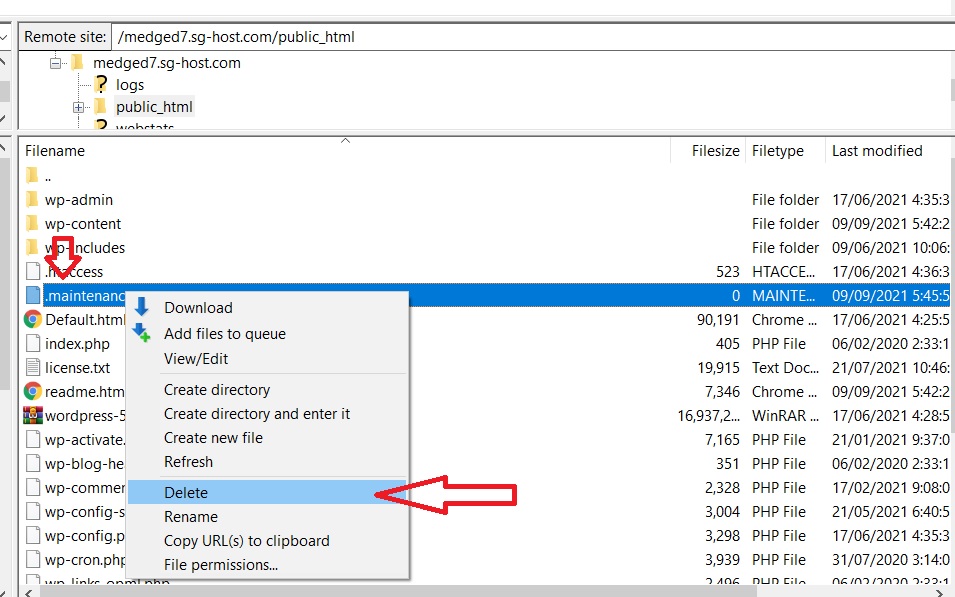
If you have no access to your site’s CPanel, you can access the root folder via FTP using software, such as Filezilla or Cyberduck. You may want to read this walk-through for Filezilla or Cyberduck. In order to proceed with this method, you will need an FTP account which you can get from your site administrator.
Upon connecting to your site’s server, you will find all the files and folders stored there on the right-hand side of the window (remote site). Just like what we did in the CPanel, go to the public_html folder and look for the .maintenance file. To delete this file, right-click on it and hit “delete”, and you’re done!
Check back your WP dashboard. The error message should be gone.
The error message “An automated WordPress update has failed to complete” normally goes away on its own automatically. It should not bother you much for as long as your site is up and running smoothly (not stuck in maintenance mode). Nonetheless, manually removing the .maintenance file to get rid of the error message won’t do any harm to your site.