Widget Options Documentation
How to Provide Temporary Admin Access to Our Support Team
Widget Options Support Team is equipped with all the knowledge and skills to provide you assistance whenever you encounter any issue with our plugin. We normally resolve concerns via E-mail; however, there are instances that require us to get into your website’s backend, so we can perform the necessary troubleshooting and give the right diagnosis. In such cases, we will ask you to provide temporary administrator access to us. (Admin access is necessary for us to see your website’s settings.) Prior to giving Widget Options Support Team admin access, we highly suggest backing up your website.
2 Ways to Provide Support Team with Temporary Admin Access
OPTION 1: Add New User via Dashboard
This option to give temporary admin access is the same as adding user accounts. Here’s how:
- All you need to do is to go to your WordPress dashboard >> Users >> Add New.
- You will then be prompted to fill out the required fields to create an account for our support team. As you can see in the screenshot below, a username and an E-mail address are required. You will also have to nominate a password. Create a unique username to your liking and use our support team member’s E-mail address. Adding first and last names is optional.
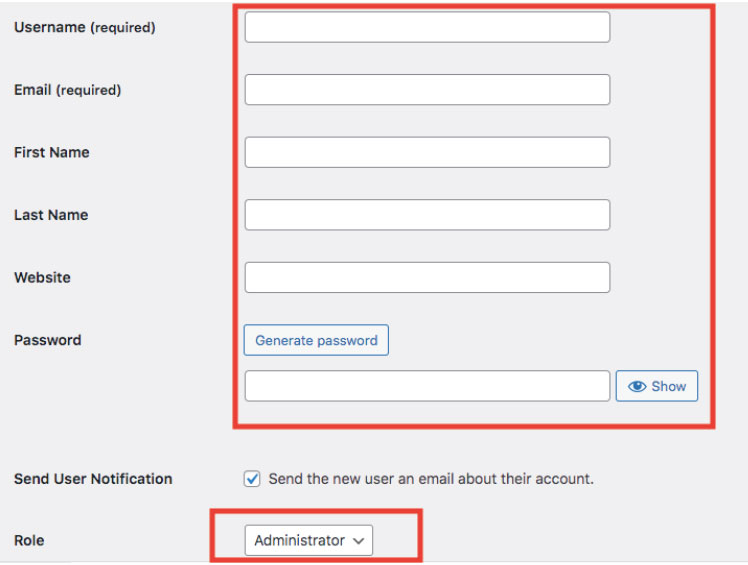
- Next, set the user role to “Administrator”, then click the Add New User at the bottom.
- Provide the support team with the username, as well as the password and the link to your site’s login page (www.yoursite/wp-login).
Our support team will let you know when they are finished with their tasks on your site. Upon receiving such notification, please delete the user account immediately.
OPTION 2: Use a Plugin
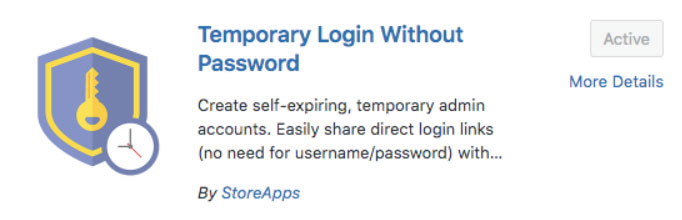
There’s a plugin that allows you to create an administrator’s access that self-expires and requires no password. It’s called Temporary Login Without Password by Store Apps. Here’s how it works:
- Install and Activate Temporary Login Without Password by Store Apps.
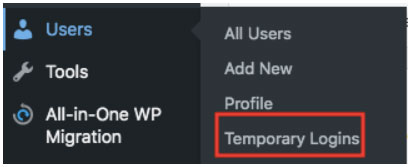
- Go to Dashboard >> Users >> Temporary Logins
- Click the Create New button.

- Fill in the required information, such as E-mail address (of our support team), set the role to Administrator, and set expiry period. You may opt to include the user’s first and last names.

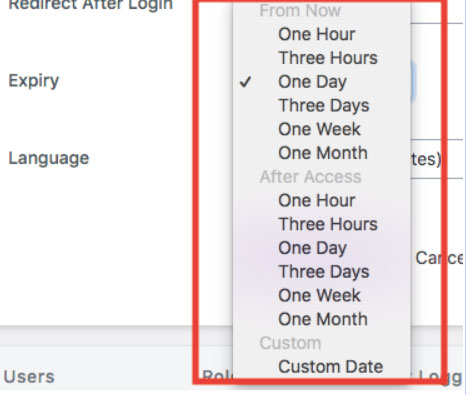
Set Expiry Period - Click on Submit. A login link will be generated. Copy the link and send it to our support team.

With the Temporary Login Without Password Plugin, you don’t have to worry about deleting the access. It will automatically be deleted upon expiration of the login link. However, should you need to lock or delete the access manually, you can do so by clicking on either the “lock” or “delete” icon found next to the account that you want to be locked or deleted.

Other actions that you can make with existing temporary logins are “edit profile”, “e-mail link”, and “copy login link”.